Bootstrap is a popular framework for creating responsive web designs. It comes with a large number of ready-made components and styles that you can easily customize to suit your needs. In this beginner’s guide, we’ll show you how to add Bootstrap to your web project.
Some key features of Bootstrap include:
- Responsive grid system: Bootstrap uses a flexible grid system that allows you to create responsive layouts. You can divide your page into rows and columns, adapting them to different screen sizes and rearranging them as needed;
- CSS Styles: Bootstrap provides a set of CSS classes that you can apply to HTML elements to achieve specific styles. It includes predefined styles for typography, tables, images, and more;
- Community and documentation: Bootstrap has a large and active developer community, which means that you can find many resources, tutorials, and templates to help you get started. The official documentation is well-supported and contains detailed information about using Bootstrap’s features.
To use Bootstrap, you need to include Bootstrap CSS and JavaScript files in your project. You can either download the Bootstrap files and place them locally, or you can use a CDN (Content Delivery Network) to include them in your HTML. Once you include the necessary files, you can start using CSS classes and Bootstrap components to create your site or application.
How to Add Bootstrap: Step-by-Step Guidance
Step 1
Downloading Bootstrap The first step is to download the Bootstrap files. You can do this either by downloading the source files from the Bootstrap website, or by using a package manager such as npm or Yarn to install Bootstrap as a dependency. In this tutorial, we’ll assume you’re using the source files.
Step 2
Add the files to your project After you’ve downloaded the Bootstrap source files, you need to add them to your project. You can add them to the root directory of your project or create a directory specifically for Bootstrap files.
Step 3
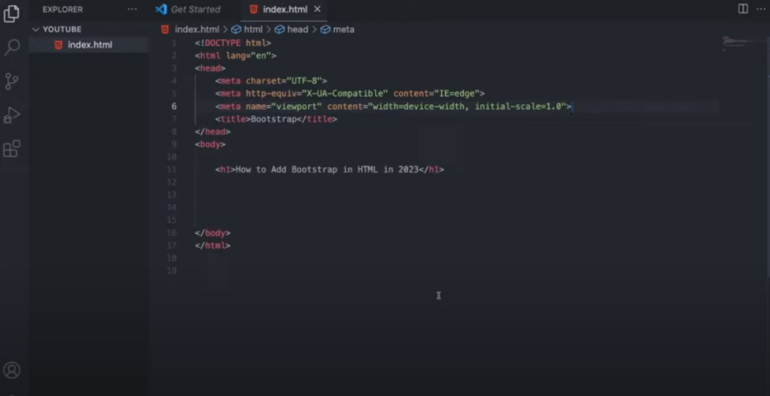
Link to Bootstrap CSS In order for your web pages to use Bootstrap styles, you need to link to the Bootstrap CSS file. Add the following line to the beginning of your HTML file:
<link rel=”stylesheet” href=”path/to/bootstrap.min.css”>. Don’t forget to update the path to the location of your Bootstrap CSS file.
Step 4
Add JavaScript files Bootstrap also comes with several JavaScript files that are necessary for some of its components to work. To add these files to your project, copy the following files from the Bootstrap source files into the project directory
bootstrap.min.js
jquery.min.js
popper.min.js (required for Bootstrap 4)
Make sure to link to these files in the header of your HTML file, as shown below:
<script src="path/to/jquery.min.js"></script><script src="path/to/popper.min.js"></script><script src="path/to/bootstrap.min.js"></script>Again, don’t forget to update the path to the location of your JavaScript files.
Step 5
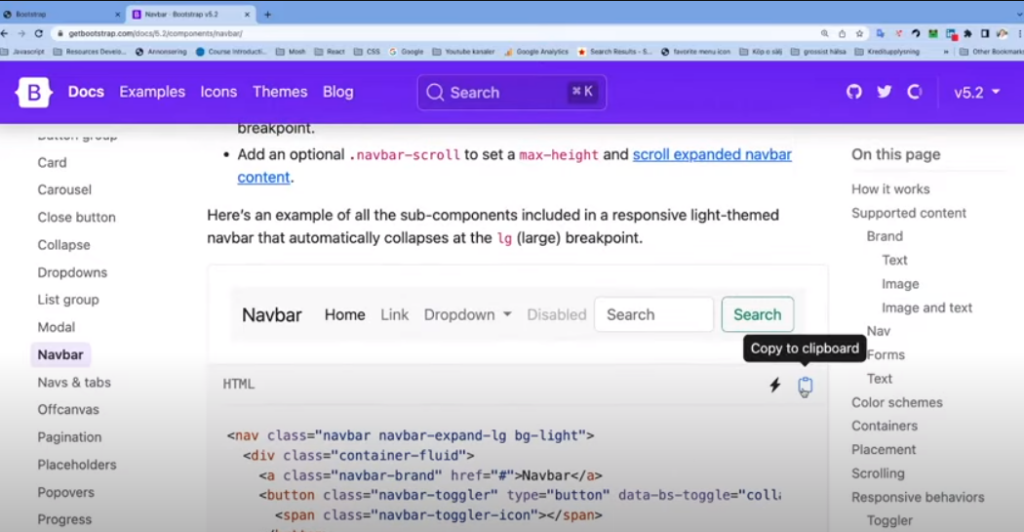
Start using Bootstrap! Once you’ve added the Bootstrap files to your project and referenced them in the HTML file, you’re ready to start using Bootstrap. Check the Bootstrap documentation for a complete list of available components and styles.
In conclusion, adding Bootstrap to your web project is a simple process that can be done in just a few steps.
Conclusions
Overall, Bootstrap is a powerful tool for web development, especially for those who want to quickly create responsive and visually appealing interfaces. It saves time by providing a solid foundation of styles and components, allowing developers to focus more on the functionality and unique aspects of their projects.